
Crispy Gobi 65 Recipe — How to Make Restaurant-Style Crispy Cauliflower at Home
Gobi 65 is the kind of appetizer that disappears from the plate before you can count to five. It is perfectly crispy on the outside, soft inside, coated in a spiced, tangy glaze that sticks to your fingers, and absolutely addictive. The name “65” comes from the year it was supposedly invented (1965) at a restaurant in Bangalore, though the exact origin story varies. What matters is that it has become a staple at every Indian restaurant, wedding reception, and house party across South India — and for good reason.
The challenge with making gobi 65 at home is getting it crispy without it becoming burnt or soggy. The coating needs to be thin enough to crisp up in seconds, but thick enough to stick. The cauliflower needs to be tender inside but not mushy. The seasoning needs to be balanced — spicy but not overwhelming, tangy but not sour. In this guide, we walk you through the complete process step by step: how to choose and cut the cauliflower, the coating that guarantees crispiness, the deep frying technique that separates restaurant-quality gobi 65 from mediocre versions, and the seasoning that brings it all together.
Why Restaurant Gobi 65 Tastes So Much Better Than Homemade Versions
If you have tried making gobi 65 at home and wondered why it never tastes quite like the restaurant version, you are not alone. The difference usually comes down to three things: the cauliflower preparation, the coating technique, and the final seasoning.
The Cauliflower Preparation Problem
Most home cooks cut cauliflower into large florets and deep fry them directly. The problem: large florets take too long to cook, the outside burns before the inside is tender, and the coating stays thick instead of crisping up thin. Restaurants cut cauliflower into smaller pieces — about 2 inches long, clustered in small florets with minimal stem — which allows them to cook through in 30–40 seconds and crisp up perfectly.
The Coating Problem
A homemade batter that is too thick will turn into a heavy, doughy crust. A batter that is too thin will not coat the cauliflower evenly. Restaurants use a specific ratio of flour to water that creates a light, crispy shell that adheres perfectly. Most home recipes do not specify this ratio clearly, which is why the coating either slips off or turns into a thick, greasy layer.
The Seasoning Problem
Restaurant gobi 65 has a complex seasoning: spicy but rounded (not a sharp chilli bite), tangy from lemon or vinegar, salty, and with a hint of sweetness from the glaze. Most home recipes are either too spicy, too sour, or flat-tasting because they miss the balance. The seasoning happens in two stages — first in the batter, then in the final toss with the sauce — and both need to be right.
Our post on crispy gobi secrets explains these techniques in more detail. If you have been struggling with vegetable cooking in general, that guide covers the universal principles that apply to cauliflower, mushrooms, and paneer alike.
Ingredients for Crispy Gobi 65 — Serves 4 as an Appetizer
For the Cauliflower and Batter
500 grams fresh cauliflower — cut into small florets (about 2 inches long)
1 cup all-purpose flour (maida)
1/2 cup cornstarch — this is the secret to extra crispiness
1/4 cup rice flour (optional, adds more crispiness)
3/4 cup water — adjust as needed for batter consistency
1 teaspoon salt
1/2 teaspoon turmeric powder
1/4 teaspoon black pepper powder
1/2 teaspoon red chilli powder — or Sparsh Masala Kitchen King Masala for rounded heat
1 tablespoon lemon juice
2 cloves garlic — finely minced
1 tablespoon ginger — finely minced
Oil for deep frying — vegetable oil or groundnut oil
For the Final Seasoning and Glaze
2 tablespoons oil
2–3 green chillies — finely sliced
3–4 cloves garlic — minced
1 small onion — diced
2 tablespoons ketchup
1 tablespoon vinegar or lemon juice
1/2 teaspoon soy sauce (optional, adds umami depth)
1/2 teaspoon chilli sauce or sriracha (optional, adds heat)
1/2 teaspoon sugar — to balance the tanginess
Salt to taste
2 tablespoons spring onions — chopped (for garnish)
1 tablespoon coriander leaves — chopped (for garnish)
Sesame seeds — optional, for garnish
Optional Ingredient for Authentic Flavour
If you want the deepest, most authentic gobi 65 flavour, add 1/2 teaspoon of a good quality spice blend. Sparsh Masala’s Kitchen King Masala works beautifully in gobi 65 — it provides the rounded, complex spice flavour that restaurant versions have without any artificial additives. Add it to the batter instead of individual chilli powder and black pepper for a cleaner, more authentic taste.
Step-by-Step: How to Make Crispy Gobi 65 at Home
Step 1: Prepare the Cauliflower
Clean the cauliflower and cut it into small florets — approximately 2 inches long with minimal stem attached. The florets should be small enough to cook through quickly (30–40 seconds in hot oil) but still have enough surface area for crispiness.
Pat the cauliflower completely dry with paper towels. Any moisture on the surface will cause the oil to splatter and will prevent the coating from crisping properly.
If the florets have a lot of green leafy parts, trim them off — they can burn during frying.
Step 2: Make the Batter
In a large bowl, combine:
1 cup all-purpose flour
1/2 cup cornstarch
1/4 cup rice flour (if using)
1 teaspoon salt
1/2 teaspoon turmeric
1/4 teaspoon black pepper
1/2 teaspoon red chilli powder (or 1/2 teaspoon Kitchen King Masala)
Mix all dry ingredients thoroughly with a whisk.
Add minced ginger, minced garlic, and lemon juice to the dry mix.
Gradually add 3/4 cup water, stirring continuously. The batter should be thin but coating — it should cling to the cauliflower florets but not be as thick as cake batter. If it is too thick, add a tablespoon of water. If it is too thin, add a tablespoon of cornstarch.
The consistency should be similar to pancake batter — thinner than regular pakora batter, thicker than a crêpe batter.
Critical tip: The cornstarch is essential for crispiness. Do not skip it or reduce it. The ratio of cornstarch to flour is what creates the light, crispy shell that shatters when you bite into it.
Step 3: Heat the Oil and Test Temperature
Pour oil into a heavy-bottomed deep pan or kadai — you need at least 2 inches of oil depth.
Heat the oil on medium-high flame. To test if the oil is ready, drop a small piece of cauliflower into it. If it immediately starts sizzling and bubbles vigorously surround the piece, the oil is at the right temperature (around 180°C or 350°F). If it sinks or takes too long to float, the oil is not hot enough. If it browns in 5 seconds, the oil is too hot.
Important: Do not let the oil smoke. Smoking oil means it is too hot and will burn the outside of the gobi while leaving the inside raw.
Step 4: Coat and Fry the Cauliflower
Working in small batches (do not overcrowd the pan), dip each cauliflower floret into the batter, coating it fully on all sides.
Carefully place the coated floret into the hot oil. It should sizzle immediately and float to the surface within 5–10 seconds.
Fry for 30–40 seconds total — turn once halfway through so both sides are exposed to the oil and turn golden brown and crispy.
Use a slotted spoon to remove the fried gobi from the oil and drain it on a paper towel.
Repeat with remaining cauliflower florets in batches. Do not fry too many pieces at once — the oil temperature will drop and the gobi will become greasy instead of crispy.
Key point: The entire frying time for each floret should be 30–40 seconds maximum. If you fry longer, the coating becomes too dark and the taste turns bitter. The gobi will continue cooking slightly after you remove it from the oil due to residual heat, so it is better to remove it slightly early than slightly late.
Step 5: Make the Seasoning Sauce
- Heat 2 tablespoons of oil in a separate pan on high heat.
- Add sliced green chillies and minced garlic. Stir for 5–10 seconds until fragrant.
- Add diced onion and stir continuously for 30–40 seconds until the onion is slightly translucent but still has a slight crunch.
- Add 2 tablespoons ketchup, 1 tablespoon vinegar or lemon juice, 1/2 teaspoon soy sauce, 1/2 teaspoon chilli sauce, and 1/2 teaspoon sugar.
- Stir well to combine. The sauce should smell tangy, slightly sweet, and spicy. Taste it — it should make your mouth water slightly. This is the base flavour.
- Add salt to taste.
- Keep the pan on high heat — do not let the sauce sit and cool.
Step 6: Toss the Gobi with the Sauce
Add the warm, freshly fried gobi florets to the hot sauce pan.
Toss quickly and continuously for about 1–2 minutes, ensuring every floret is coated in the sauce.
The hot gobi will absorb the sauce flavours and the residual heat will slightly caramelize the glaze, creating a sticky, flavourful coating.
Remove from heat immediately.
Step 7: Garnish and Serve
Transfer to a serving plate.
Garnish with chopped spring onions, fresh coriander leaves, and sesame seeds (if using).
Serve immediately while hot and crispy. Gobi 65 loses its crispiness within 5–10 minutes as it sits, so serve as soon as it is ready.
Can You Substitute One for the Other?
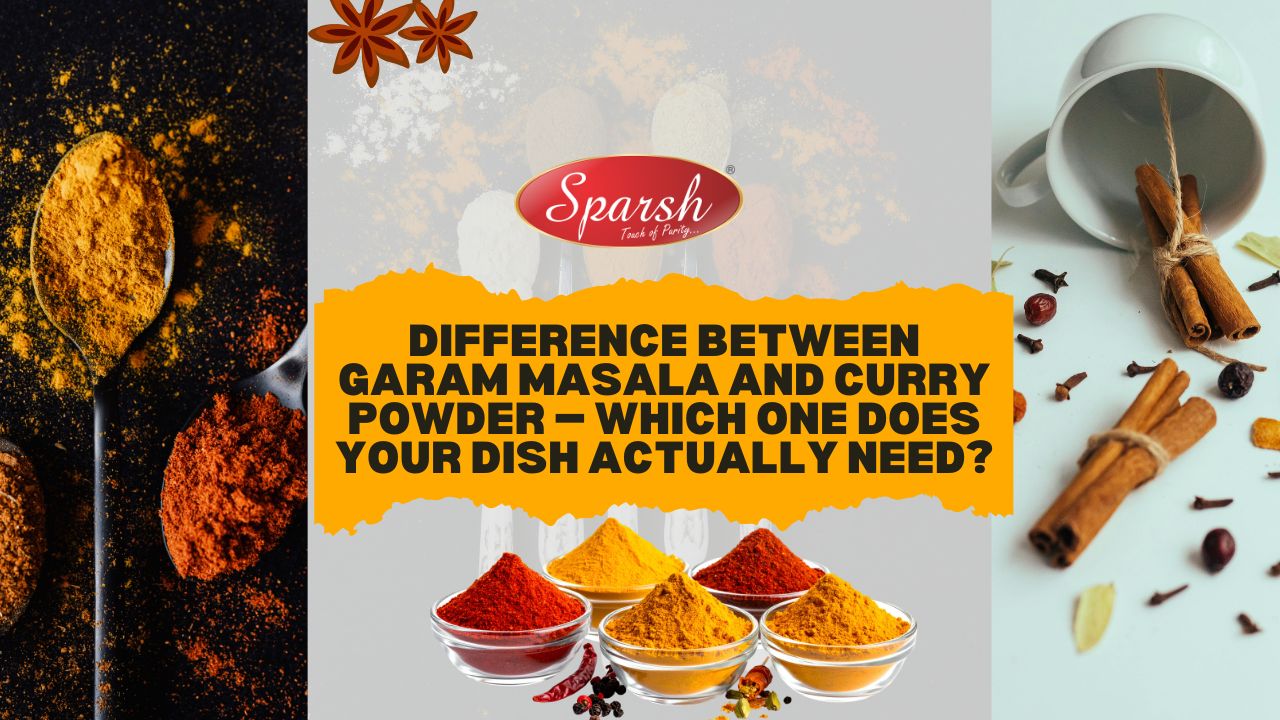
In short — no. Substituting garam masala for curry powder or vice versa will give you a noticeably different dish.
If a recipe calls for curry powder and you add garam masala instead, your dish will lack the turmeric base colour and the earthy fenugreek note. It will taste more fragrant but less grounded.
If a recipe calls for garam masala and you use curry powder instead, the turmeric will colour everything yellow, the dish will taste sharp and earthy rather than aromatic, and the fenugreek bitterness may overpower the other flavours.
The only situation where a partial substitution works is if you are improvising and understand the role each spice plays in the recipe. Even then, it is better to understand the correct spice and use it correctly than to work around a gap.
Which Dishes Use Garam Masala and Which Use Curry Powder?
Dishes That Use Garam Masala
- Chicken and mutton curries — added as a finishing spice in the last two minutes
- Dal makhani — stirred in just before serving
- Biryani — added to the rice layer or the meat marinade
- Paneer dishes — added after the sauce is cooked through
- Aloo gobi and similar vegetable dishes — final seasoning
Our bisibele bath recipe from Karnataka shows how a regional masala blend functions differently from both garam masala and curry powder — worth reading if you want to understand South Indian spice logic.
Dishes That Use Curry Powder
- British-style Indian curries
- Curry-flavoured soups and stews in Western cooking
- Curry rice or curry noodles in Southeast Asian-influenced dishes
- Marinades for grilled dishes where the turmeric adds colour
In authentic South Indian or Karnataka cooking, neither “curry powder” nor a single catch-all spice blend is used. Different dishes each have a specific masala — sambar powder for sambar, rasam powder for rasam, vangibath powder for vangibath. Each is formulated precisely for that dish. If your rasam has been turning watery or losing its flavour, our post on why rasam turns watery explains why a specific rasam powder always outperforms a generic curry powder.
How Sparsh Masala Approaches Both
At Sparsh Masala, the philosophy is that every dish deserves a masala built specifically for it — not a generic all-purpose blend. This is why the product range includes individual, dish-specific masalas like Sambar Powder, Rasam Powder, Bisibele Bath Powder, and Vangibath Powder alongside a traditional Garam Masala.
All Sparsh Masala products are made with authentic Karnataka ingredients — including Byadgi chillies from Haveri district for natural colour, roasted dried coconut for depth, and Marathi Mokku (Stone Flower) in the Bisibele Bath Powder. No artificial colours, no preservatives, no shortcuts.
If you have been using a generic curry powder for South Indian cooking and wondering why your sambar and rasam never taste right — the spice blend is the reason. Explore the full Sparsh Masala veg masala range to see what dish-specific masalas can do for your cooking. For non-vegetarian cooking, the non-veg masala range including Chicken Kabab Masala is available on the same website.
FAQs About Difference Between Garam Masala and Curry Powder
No. Garam masala and curry powder are two different spice blends with different ingredients, different flavour profiles, and different roles in cooking. Garam masala is an aromatic finishing spice made from warming whole spices like cardamom, cloves, and cinnamon. Curry powder is a base spice blend dominated by turmeric, coriander, and fenugreek, designed to be cooked in at the beginning of the recipe. Using one in place of the other will noticeably change the flavour and colour of the dish.
Curry powder is generally hotter in terms of chilli heat, because it typically contains red chilli or cayenne pepper as a key ingredient. Garam masala is warming rather than spicy — the heat comes from black pepper and cloves and creates a deep, spreading warmth rather than a sharp burn. If you are cooking for people who are sensitive to heat, garam masala is the gentler option.
You can, but the result will be different. Garam masala has no turmeric, so your dish will not develop the yellow colour that curry powder creates. It also lacks fenugreek and coriander in the same proportions, so the earthy base flavour will be absent. The dish will taste more fragrant and aromatic but will lack the grounded depth of a curry-powder-based recipe. Adjust other spices accordingly if you make this substitution.
Always add garam masala at the end of cooking — in the last one to two minutes, after the heat is turned down. The aromatic compounds in garam masala are volatile and break down quickly under sustained heat. Adding it early will result in a flat, muted flavour with none of the fragrance that makes garam masala worth using. See our dedicated post on how to use garam masala correctly for step-by-step guidance.
No. Traditional South Indian and Karnataka cooking does not use a generic “curry powder.” Each dish has its own specific spice blend — sambar powder, rasam powder, bisibele bath powder, vangibath powder — each formulated with the precise combination of spices that dish requires. These blends are far more specific and flavourful than a generic curry powder. This is exactly the approach Sparsh Masala follows — every product in the range is built for a specific dish, not as an all-purpose substitute.
CONCLUSION
The difference between garam masala and curry powder comes down to this: garam masala is an aromatic finishing spice added at the end of cooking for fragrance and complexity. Curry powder is a base seasoning added early in cooking to build colour and earthiness. They are not interchangeable, and understanding when to use each one will immediately improve the quality of your cooking.
For South Indian and Karnataka cooking specifically, neither of these is the right answer for most dishes — a dish-specific masala like sambar powder, rasam powder, or bisibele bath powder will always produce a better result. That precision is exactly what Sparsh Masala is built on.